
How to add Google Analytics to Google Tag Manager

This article is Part 3 of our Measurement Series and provides step by step instructions on how to add Google Analytics to Google Tag Manager and test your implementation. If you need help setting up either Google Analytics or Google Tag Manager, or have questions about either tool, try our handy articles below.
- How to set up Google Analytics
- How to set up Google Tag Manager
- How to add Google Analytics to Google Tag Manager
- How to share Google Analytics access
- How to share Google Tag Manager access
Before we start, make sure you have Google Analytics setup and Google Tag Manager set up. If you need help, refer to the articles above. You’ll also want to have your Google Analytics Measurement ID. The Google Analytics article above will help you locate it.
Let’s add Google Analytics to Google Tag Manager
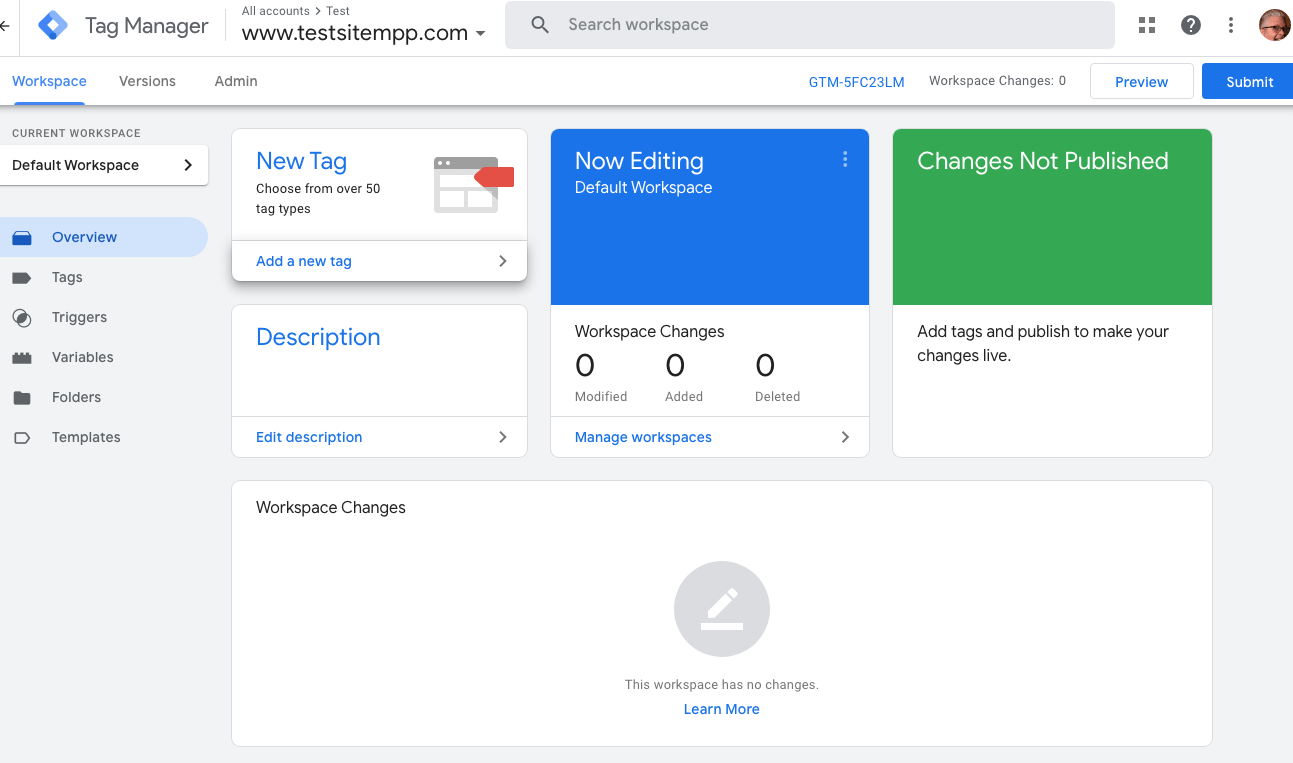
- Point your browser to tagmanager.google.com and login.
- On the workspace screen, click “Add a new tag”
- Name your tag “Google Analytics”
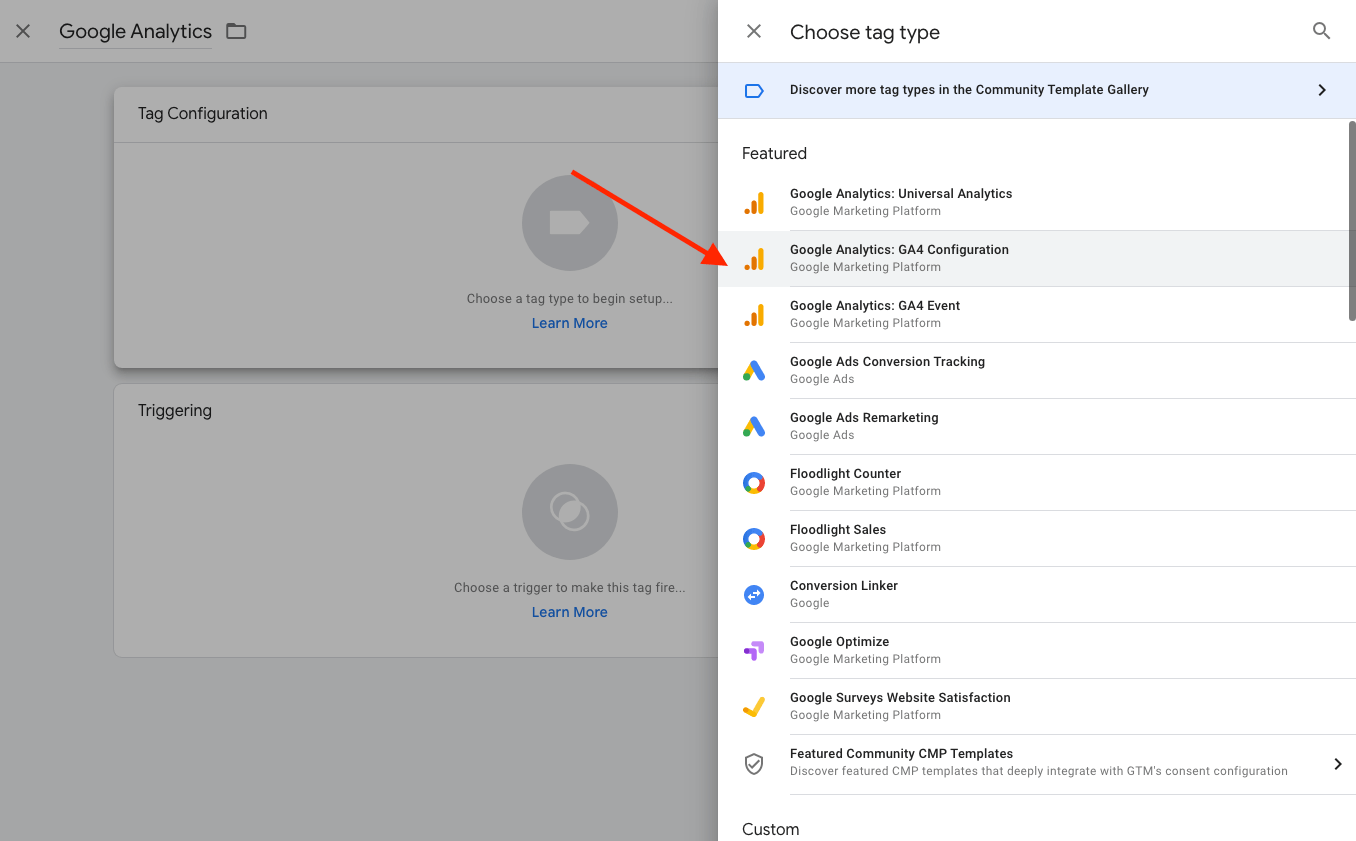
- In the tag configuration box, click anywhere to begin creating a new tag.
- Choose Google Analytics: G4 Configuration
- Paste your G4 Measurement ID in the Measurement ID box. (need help getting this ID?, Check out our article on setting up Google Analytics)
- Ensure the “Send to a page view event when this configuration loads” box is checked
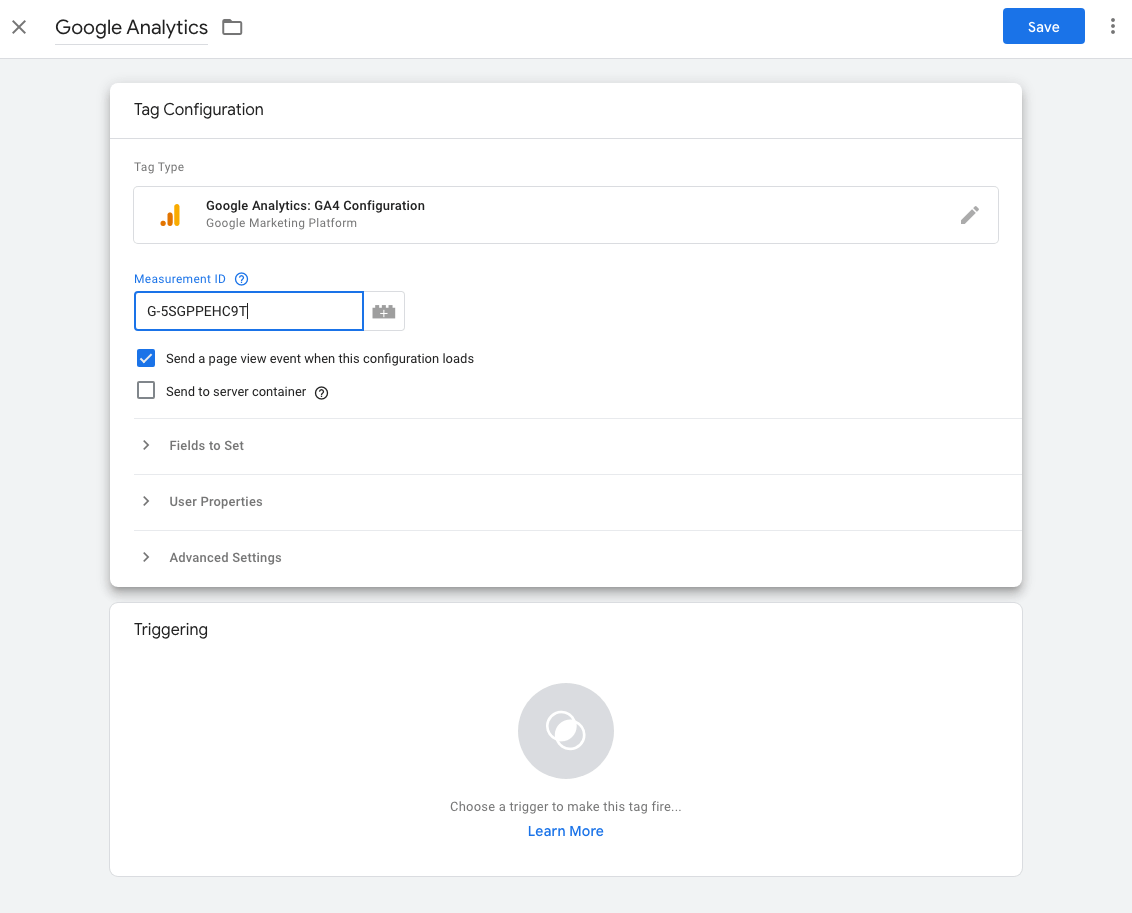
- With that in place, head down to the Triggering box
- Click anywhere in the Triggering box to create a new Trigger
- Select “All Pages” as the trigger
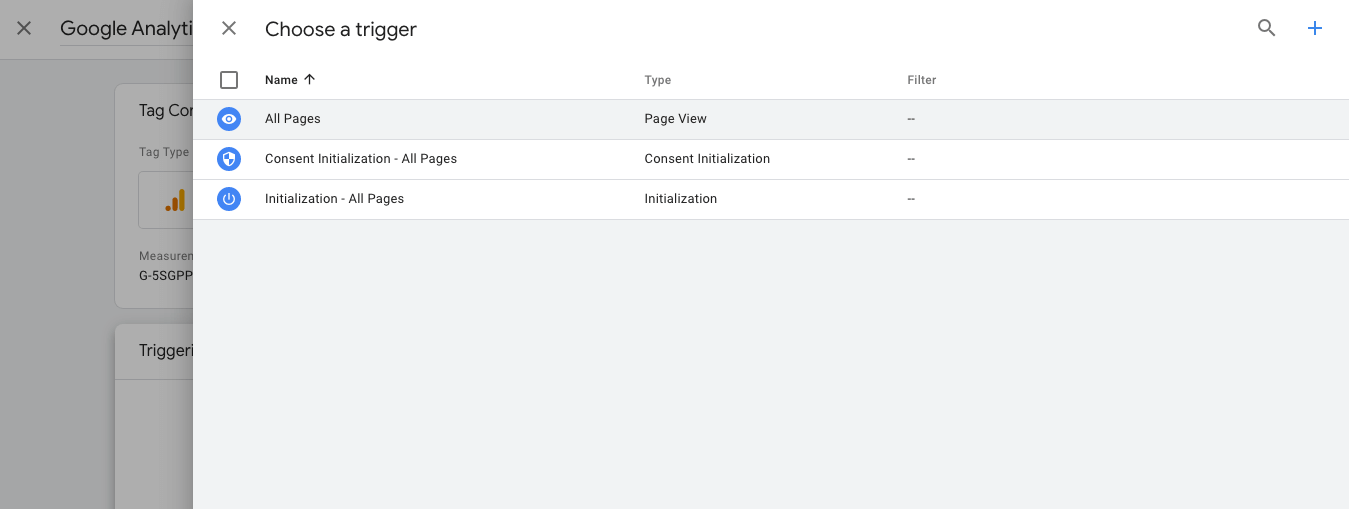
- Click Save
- Last, you need to publish the changes so that Google Tag Manager sets your changes live. Do this by clicking Submit
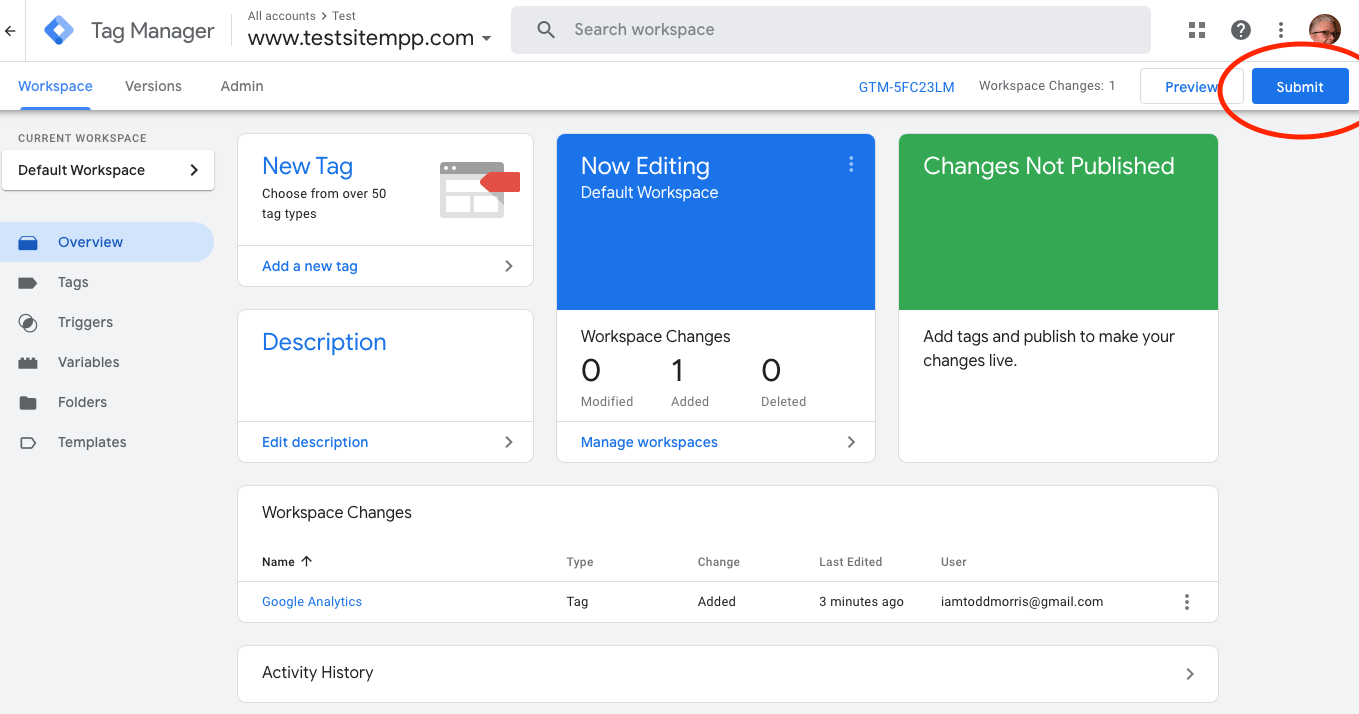
At this point, you should have Google Tag Manager code installed on your website and Google Analytics set up and in Google Tag Manager. Everything should be in place to work as intended. However, you should always test your configuration to make sure its working properly.
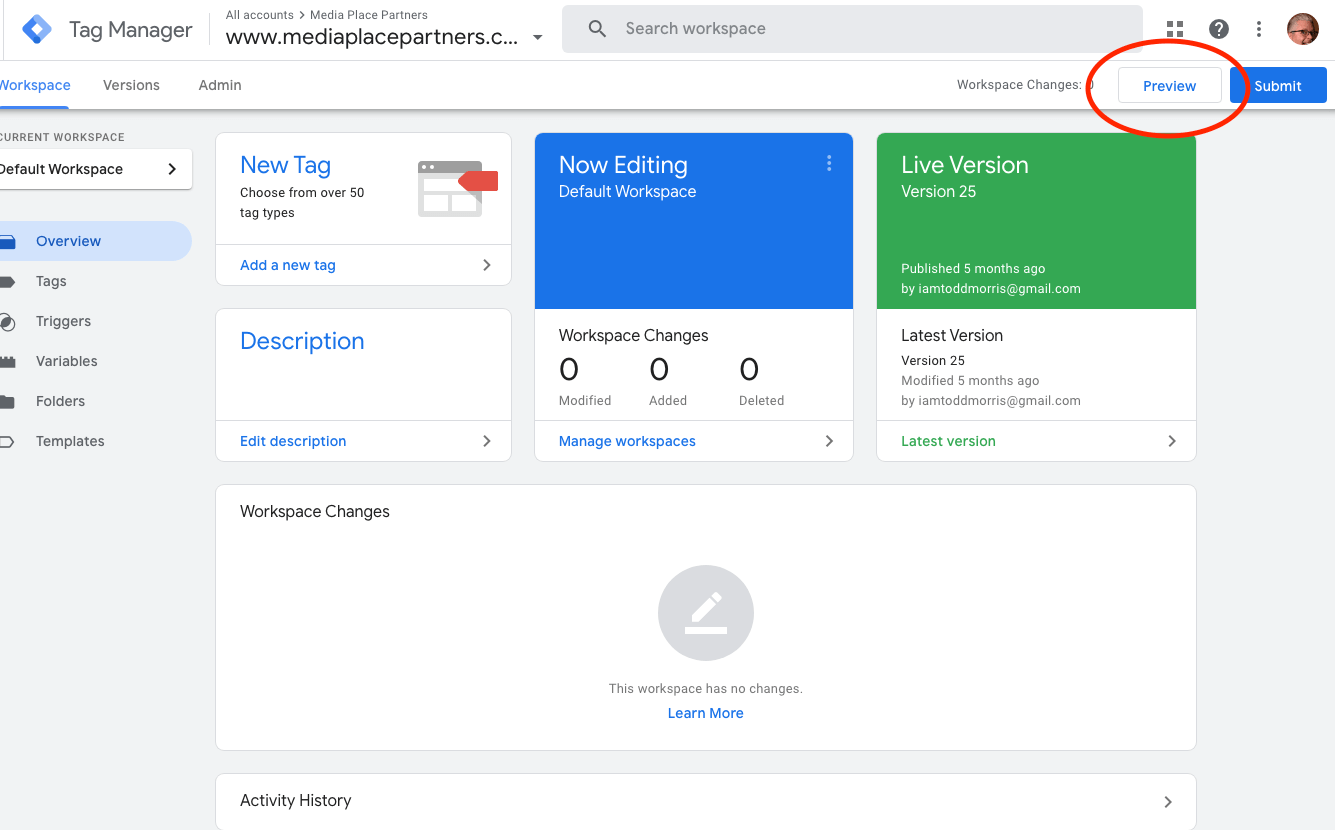
Testing your Google Tag Manager installation
Since the examples we’ve used in this series haven’t been actual websites, we’re going to show you the MPP containser and preview so you see a real working website and Google Tag Manager implementation.
- Near the top right of your Google Tag Manager page is a Preview button. Click that button to start the testing process.
- A new tab will open. Enter the URL of your site, including the http or https and click “Connect”
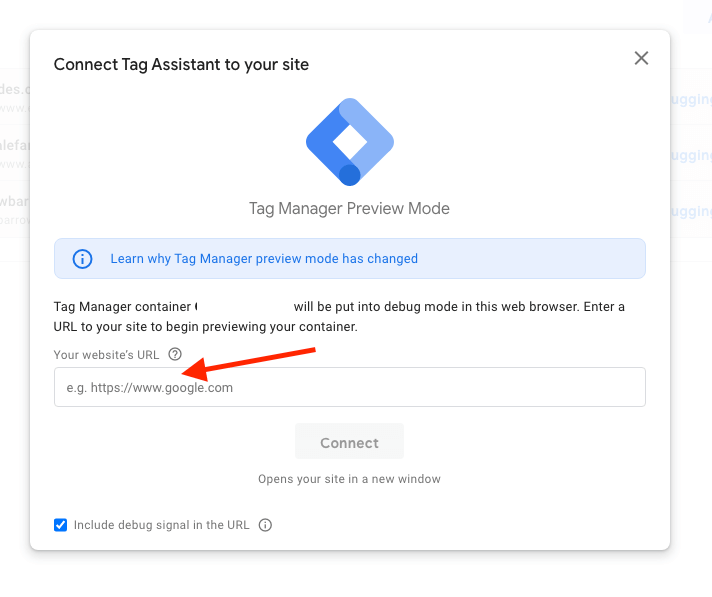
- Another new tab opens. This one loads your website. The existing Tag Assistant tab should now have a flashing icon and say “Connected”

- Change to the Tag Assistant tab and click “Continue”.
- You’ll now see all all the tags on the page and those that have fired are separated. Your analytics tag should be firing like ours is below
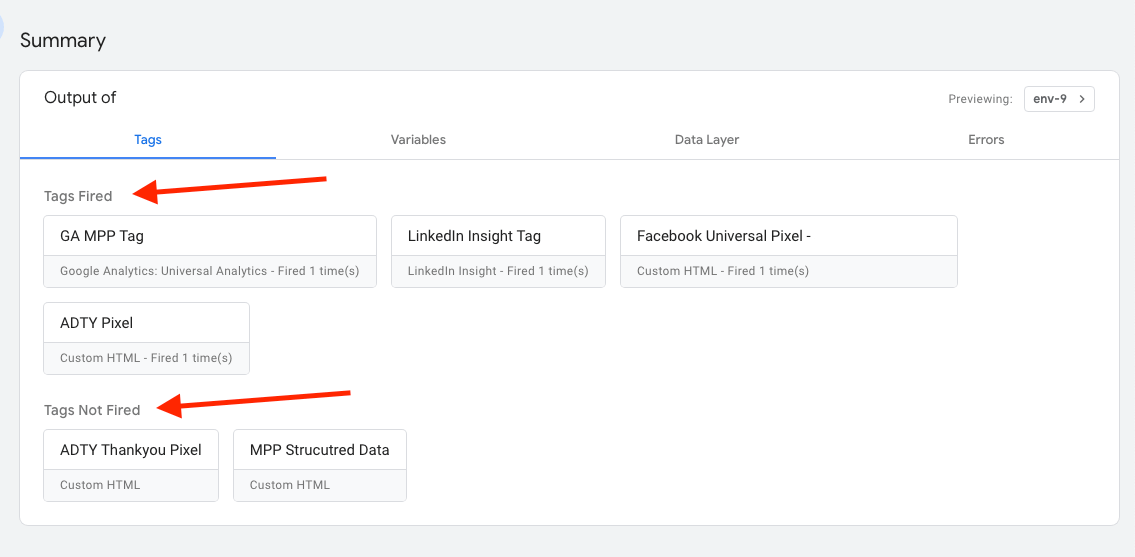
If your analytics tag is firing, then you’ve installed Google Tag Manager and Google Analytics correctly. If it isn’t firing, something isn’t correct and you’ll have to do some troubleshooting. We do recommend visiting several pages of your site to make sure your Analytics tag is firing on all pages.
The idea of these two tabs, one with the Tag Assistant and one with your site, is that you can explore your site and the Tag Assistant will update. That means you can take the steps to fire various tags and see if they are working properly. For example. If we want the ADTY Thankyou Pixel to fire, we need to fill the form and land on the Thank You Page we’ve declared in that trigger. Otherwise, the tag will not fire.
At this point, we’ll assume your tag is firing. If you’re working with an agency or need a more robust tracking strategy, you may need to share access to your Google Analytics or Google Tag Manager with certain people. Part 4 and Part 5 of our Measurement series details how to share your each of these safely.

